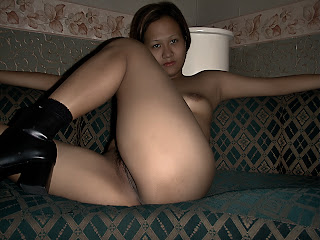
First day 0f 2008 and I don't have a hangover from last night (yeah). My first post of 2008 is a streetgirl that I had met. posting here more to discuss a technique that I use to process some of my photos. It is simple and I like the way it works some of the time.
In photoshop, I first duplicate the layer. Next, I change the mode to multiply (the drop down box). I change the name of the layer to multiply. Next step is to make sure you have the multiply layer active and go image-adjustments-hue/saturation and turn down the saturation (drag the saturation bar to the left) almost all the way (this photo was at -85). Click ok. Next step is to make sure your background layer is selected (the bottom layer) and duplicate that layer. Change that layer name to "minor" (you can actually name them whatever you want, it just makes it easier to keep track if you name the layers). OK, now you have (from bottom to top) the following layers; 'background' - 'minor' - multiply (total of three layers).
Select the multiply layer again (the top layer) and go to image-adjustments-shadow highlights. Make sure the show more options box is checked at the bottom. Now, I generally only play with the "shadows" box at the top. It has amount, tonal width and radius. Goof around with these until you get something you like. For this photo it was amount (50%) tonal width (50%) and radius (50%). Click ok.
I normally will collapse the layers at this point (layer-flatten image). Then apply some sharpening to taste.
Now I generally find that this technique works best if you do this right when you open up the image (before you play around with curves and levels) but again goof around and see what you like.
Hope you found this useful.
No comments:
Post a Comment